

Leave Your Message
Choosing the right Electro Magnetic Buzzer involves more than comparing price, volume, and delivery time. Global buyers must examine sound pressure, rated voltage, current consumption, tone frequency, mounting style, and operating temperature. A buzzer that sounds strong in a quiet showroom may become weak inside a sealed control panel. Small details matter.
Dr. Wolfgang Klippel, a respected electroacoustics specialist, states, “A transducer must be measured under realistic operating conditions.” This principle applies directly to buzzer selection. Test samples with the intended power supply, enclosure, wiring length, and surrounding noise. Check whether the sound remains clear after repeated activation. Also inspect terminal strength, housing quality, and datasheet consistency.
This guide reviews ten Electro Magnetic Buzzer options for international buyers. It considers performance, application fit, reliability, supplier information, and practical installation needs. Some models may appear excellent on paper but disappoint during field testing. That is an uncomfortable possibility, yet it deserves attention. Certification marks alone do not prove suitability for every market or device. Buyers should confirm current technical documents and regional requirements before ordering.
Expect trade-offs. Higher volume can increase current demand. Compact designs may provide less acoustic output. Low-cost parts can reduce budget pressure, but quality variation remains a concern. The best choice is not always the loudest buzzer. It is the one that delivers a dependable alert within the actual electrical and mechanical conditions. That judgment requires evidence, not assumptions.
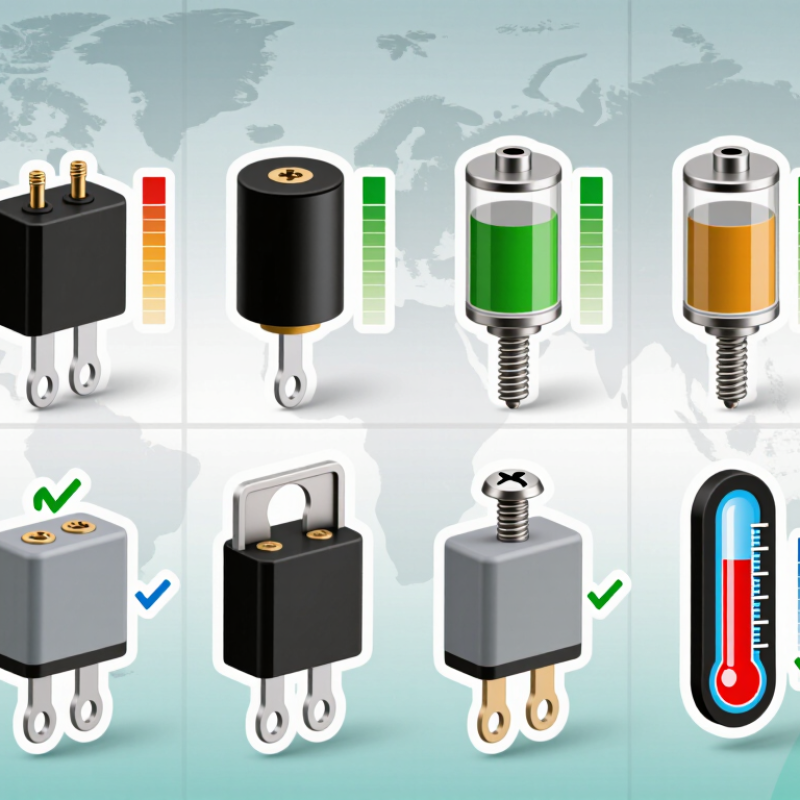
An electromagnetic buzzer converts electrical energy into a repetitive mechanical vibration. Inside, a copper coil creates a magnetic field when direct current flows. The field pulls a small iron armature toward the core. This movement opens the contact or changes the circuit, weakening the field. The armature then returns, and the cycle repeats rapidly.
That vibration moves a thin diaphragm and produces the familiar buzzing tone. Active buzzers contain an internal oscillator and sound when voltage is applied. Passive types need an external alternating signal, allowing better control of pitch. During selection, buyers should check rated voltage, current consumption, sound pressure level, frequency, response time, and operating temperature. Sound pressure is commonly measured in decibels at a specified distance, often 10 centimeters.
The IEC 60601-1-8 standard shows why alarm tone, pulse pattern, and audibility matter in safety-related equipment. Grand View Research’s industrial automation analysis forecasts strong market growth through 2030, supported by connected monitoring systems. This trend increases demand for compact, reliable audible indicators. Yet a louder buzzer is not always better. Enclosures, mounting surfaces, and background noise can reduce real performance. A datasheet may look precise, but field testing remains necessary. Even a small voltage variation can change tone stability or starting behavior. That detail is easy to overlook.
An electromagnetic buzzer uses an energized coil to move a magnetic armature or diaphragm, producing sound through vibration. The options below are representative configuration types rather than specific branded products; actual performance varies by design and manufacturer.
| Option | Configuration | Typical Supply | Typical Current | Typical Sound Output | Typical Frequency | Approx. Size | Mounting | Common Applications |
|---|---|---|---|---|---|---|---|---|
| 1 | Compact PCB magnetic buzzer | 3–5 V DC | 20–40 mA | 75–85 dB at 10 cm | 2.0–3.5 kHz | 12–20 mm diameter | Through-hole or surface-mount PCB | Small appliances, handheld devices, and simple status alerts |
| 2 | Low-voltage panel buzzer | 6–12 V DC | 15–50 mA | 80–90 dB at 10 cm | 2.0–4.0 kHz | 20–30 mm diameter | Panel snap-fit or threaded mount | Control panels, access systems, and battery-powered equipment |
| 3 | General-purpose 12 V buzzer | 12 V DC | 20–60 mA | 85–95 dB at 10 cm | 2.0–4.0 kHz | 20–35 mm diameter | Panel mount or screw mount | Automotive accessories, instruments, and machine alerts |
| 4 | Wide-voltage DC buzzer | 12–24 V DC | 15–70 mA | 85–100 dB at 10 cm | 1.5–4.0 kHz | 25–40 mm diameter | Panel mount or bracket mount | Industrial controls, warning panels, and equipment cabinets |
| 5 | High-output industrial buzzer | 12–24 V DC | 50–150 mA | 95–110 dB at 10 cm | 1.5–3.5 kHz | 35–60 mm diameter | Screw or surface mount | Factory machinery, material handling, and audible warning systems |
| 6 | Self-oscillating DC buzzer | 3–24 V DC, depending on design | 10–80 mA | 75–100 dB at 10 cm | Typically fixed tone, about 2–4 kHz | 15–40 mm diameter | PCB, panel, or wire-lead mount | Basic alarms where a simple continuous tone is sufficient |
| 7 | Externally driven magnetic transducer | 3–12 V AC or pulsed DC, per design | 10–50 mA | 70–90 dB at 10 cm | Drive-dependent, commonly 1.5–4 kHz | 12–25 mm diameter | PCB mount | Electronic products requiring controller-generated tones or patterns |
| 8 | Low-profile magnetic buzzer | 3–12 V DC | 15–50 mA | 70–85 dB at 10 cm | 2.0–4.0 kHz | 15–30 mm diameter; low height | Surface-mount PCB | Compact consumer electronics and space-constrained control boards |
| 9 | Sealed panel buzzer | 12–24 V DC | 20–100 mA | 80–100 dB at 10 cm | 1.5–4.0 kHz | 25–45 mm diameter | Gasketed panel or threaded mount | Equipment used in dusty or splash-prone environments; check the rated ingress protection |
| 10 | AC-powered electromagnetic buzzer | 24–230 V AC, model-dependent | Varies by voltage and design | 80–105 dB at 10 cm | Typically mains-related or design-specific tone | 30–60 mm diameter | Panel or surface mount | Fixed installations and control panels; requires voltage-appropriate wiring and protection |
Buyer note: Sound pressure level, current draw, operating voltage, frequency, dimensions, and environmental ratings are design-dependent. Confirm the manufacturer’s datasheet, measurement distance, drive requirements, and applicable safety standards before purchase. AC-powered versions should be installed by qualified personnel.