Top DIY Piezo Buzzer Projects for Global Buyers Ready to Try?
The DIY Piezo Buzzer industry is gaining momentum among hobbyists and electronics enthusiasts worldwide. According to a recent report by MarketsandMarkets, the global market for such sound devices is projected to grow significantly, indicating a rising interest in DIY electronics. As John Smith, a renowned expert in the field, noted, “DIY Piezo Buzzers empower creators to explore sound design innovatively.”
Engaging in DIY Piezo Buzzer projects can enhance creativity and technical skills. From simple alarm systems to musical instruments, the applications are diverse. Yet many buyers often struggle to find reliable resources or guidance. As this market expands, it's crucial to consider that not all projects yield satisfying results. Some may find initial experiences frustrating, influencing their perception of DIY activities.
Finding the right project can also be daunting. A well-chosen DIY Piezo Buzzer project can lead to rewarding outcomes and a deeper understanding of sound engineering. However, potential makers should remain aware of the challenges. Learning from mistakes is part of the journey, ultimately leading to greater expertise.

Understanding Piezo Buzzers: Basics and Functionality
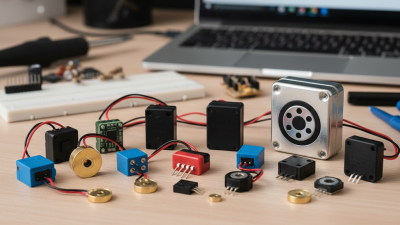
A piezo buzzer is a simple yet versatile device widely used in various electronic projects. Its main function is to convert electrical energy into audible sound. These buzzers utilize the piezoelectric effect, where mechanical stress generates an electric charge. This process allows them to produce sound when voltage is applied. Understanding this functionality is key for DIY enthusiasts.
Working with piezo buzzers can be an enlightening experience. Their compact size and low power requirements make them ideal for prototypes and simple sound alerts. Many projects showcase their capability, from alarms to musical instruments. Experimenting can lead to unexpected results. Sometimes, the sound output may not match expectations, leading to a need for adjustment.
While piezo buzzers are generally reliable, factors like frequency and voltage can influence performance. Users often face challenges like distortion in sound quality or inadequate volume. Such hurdles inspire creative problem-solving. Reflecting on these limitations can enhance your understanding and experimentation. The journey with piezo buzzers is as exciting as the projects they inspire.
Top DIY Piezo Buzzer Projects for Global Buyers Ready to Try?
| Project Name |
Skill Level |
Components Needed |
Estimated Time |
Description |
| Simple Alarm System |
Beginner |
Piezo Buzzer, Resistor, Sensor |
1 hour |
A basic alarm that sounds when a sensor is triggered. |
| Musical Greeting Card |
Intermediate |
Piezo Buzzer, Micro-controller, Switch |
2 hours |
Create a card that plays a tune when opened. |
| Distance Measuring Device |
Advanced |
Piezo Buzzer, Ultrasonic Sensor, Micro-controller |
3 hours |
Measure distances using sound waves and provide feedback through the buzzer. |
| Interactive Game Sound Effects |
Intermediate |
Piezo Buzzer, Buttons, Micro-controller |
2 hours |
Add sound effects to a board game using buzzers. |
| Alert System for Home Automation |
Advanced |
Multiple Piezo Buzzers, Smart Hub, Sensors |
4 hours |
Integrate buzzers into a home network for alerts on various events. |
Step-by-Step Guide to Creating Your First Piezo Buzzer Project
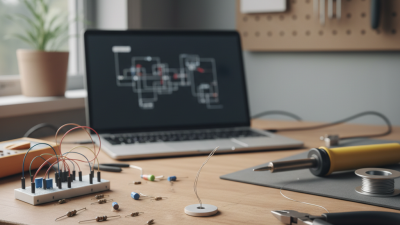
Creating your first piezo buzzer project can be a rewarding experience. This simple component can generate sound and is widely used in many applications. Getting started may seem intimidating, but it’s easier than you think.
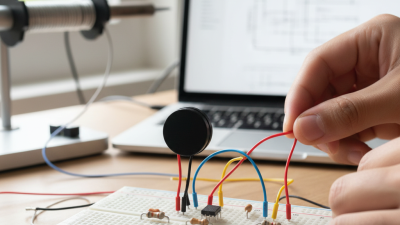
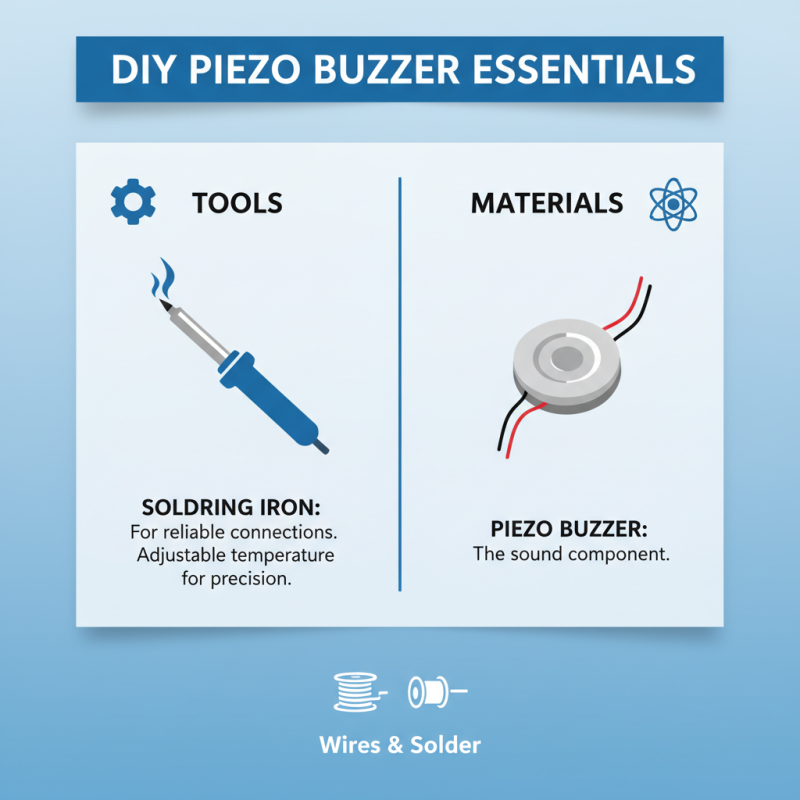
Begin by gathering essential materials. You’ll need a piezo buzzer, a power source, and a microcontroller, like an Arduino. Make sure to have jumper wires and a breadboard on hand. Don't worry if you don't have everything. Flexibility is part of the learning process. You can always borrow or improvise materials.
When wiring the buzzer, connect it to your microcontroller. Use simple code to create sound patterns. This might take a few attempts. You may encounter unexpected errors. Perhaps the buzzer won’t sound or the code won’t run as anticipated. Don’t get discouraged. Each mistake is a chance to learn. Document your findings and adjust your approach accordingly. This iterative process leads to a deeper understanding and better projects in the future.
Exploring Creative Applications of Piezo Buzzers in Daily Life
Piezo buzzers are versatile devices found in many daily applications. They produce sound with minimal energy, making them ideal for various DIY projects. From alarm systems to soothing bedside alerts, their uses are limited only by your imagination. Everyday items can be enhanced with these buzzers, offering both functionality and creativity.
One popular idea involves using piezo buzzers in home automation. For instance, you can connect one to your doorbell system. When someone rings the bell, the buzzer emits a sound, welcoming guests. This simple project adds a personal touch to your home and enhances security.
Tips: Always test your setup before finalizing it. Ensure the buzzer is loud enough but not annoying. You could also consider using different tones for various alerts. Experiment with combinations until you find the right sound.
Another interesting application is in DIY toys. Children enjoy sounds, and piezo buzzers can make simple circuits more engaging. Think about integrating light sensors with buzzers for playful interactions. When the light changes, the buzzer responds with a sound. This project fosters creativity and can be educational as well.
Remember to be cautious when working with electronics. Proper insulation and secure connections are essential for safety.
Tips for Troubleshooting Common Issues in Piezo Buzzer Projects
Piezo buzzers are popular in many DIY projects. They create sound through mechanical vibrations. However, users often encounter common issues. Understanding these problems can enhance project success.
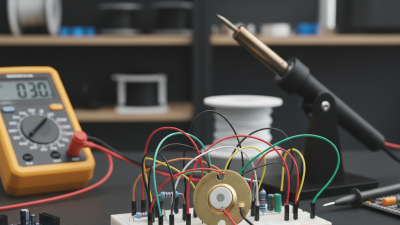
Testing the piezo buzzer is crucial. Sometimes, it will not produce sound. This could be due to incorrect voltage or wiring issues. Ensure the connections are tight and that the correct voltage is supplied. A multimeter can help verify this.
Another frequent issue involves sound quality. If the sound is distorted, check the power source. Inconsistent power can lead to poor performance. Experiment with different power supplies if necessary. Additionally, ensure the buzzer is mounted securely. Vibration can affect sound output significantly.
Lastly, keep an eye on the frequency settings. Different applications require varying frequencies. If the buzzer is not responding well, consider adjusting the tone or pitch. This simple tweak can lead to better results.