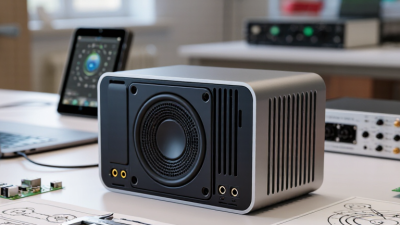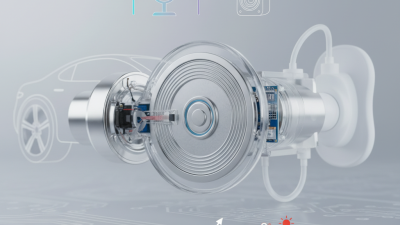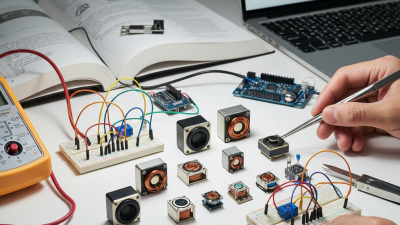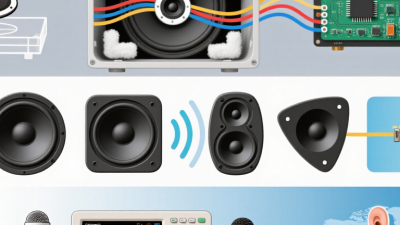
Choosing the right Mini Speaker Module begins with the space it must fill. A tiny enclosure on a handheld device needs different acoustic behavior from a module in a desktop display. Start with the enclosure’s internal volume, available power, target loudness, and listening distance. These details narrow the options before a spec sheet becomes overwhelming.
Audio-product designer Dieter Rams offered a useful design principle: “Good design is as little design as possible.” His words are not a speaker-selection formula, but they remind us to avoid features that do not serve the product. Small details matter. Check the module’s dimensions, impedance, rated power, sensitivity, and frequency response. Then confirm that the measurements suit the amplifier and enclosure, rather than judging a component by wattage alone. A 28-millimeter driver may fit neatly, yet still sound thin inside a poorly tuned cavity. Not on paper.
Where possible, listen to a sample inside a prototype enclosure. Speech clarity, distortion at higher volume, and unwanted buzzing can reveal problems that a product table cannot. A neat specification sheet can still mislead. I would treat any single measurement as a clue, not a verdict; the enclosure and final assembly change what listeners hear. Ask suppliers for test conditions and comparable measurement data. If a sample sounds bright in a quiet room, check it again in the intended setting. The best Mini Speaker Module is not automatically the smallest or loudest. It is the one that fits the design, performs consistently, and meets the real listening need. Sometimes that match takes another test.
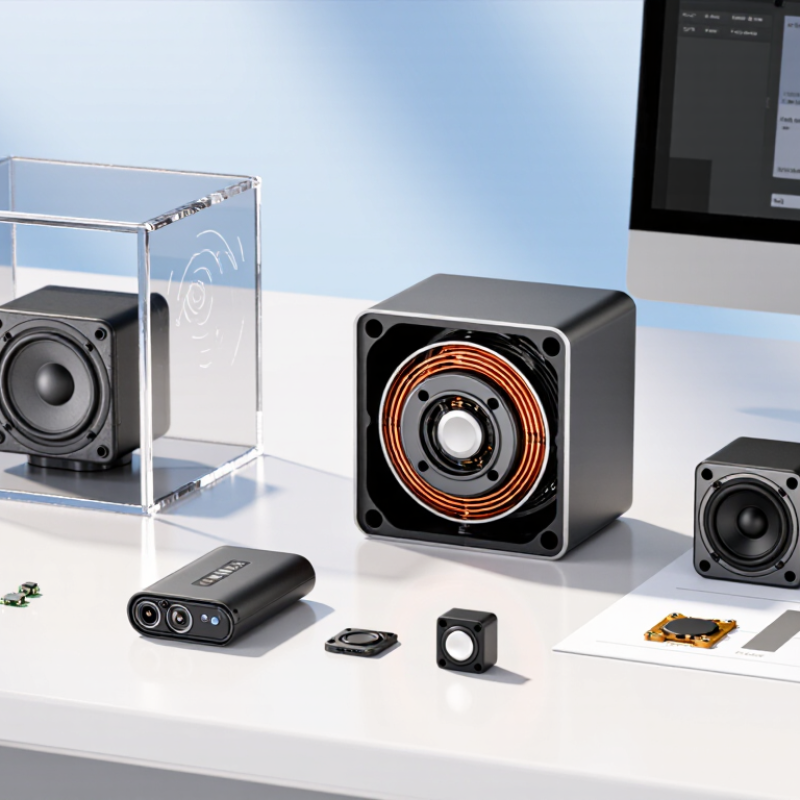
A mini speaker module is a compact sound-producing assembly, often built around a small driver and, in some designs, a housing or passive radiator. The driver contains a diaphragm, voice coil, magnet, and frame. Small parts, real work.
When an audio signal reaches the voice coil, changing current creates a changing magnetic field. It interacts with the permanent magnet, moving the coil and attached diaphragm back and forth. That motion pushes air and creates sound waves. A tiny diaphragm has limited surface area, so low notes may sound lighter than they do from a larger speaker. The enclosure also matters: its shape and sealing can affect bass response and unwanted rattling.
Choosing a module starts with the space and sound you need. Check its dimensions, mounting points, rated impedance, power handling, and frequency range against the device and amplifier. A rating on paper is not a promise of loud, clear sound in every enclosure. In practical testing, even a loose wire or thin plastic panel can introduce buzz. I would listen to a sample inside the intended housing, at ordinary and higher volume, before settling on a part. One overlooked detail: sound can change noticeably once the speaker sits behind a grille.
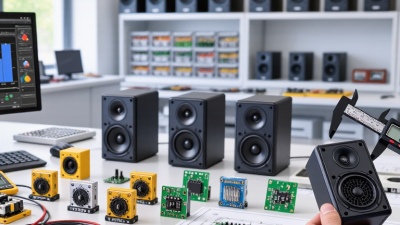
A mini speaker module should be compared by more than its advertised wattage. Check its frequency response and note how that range was measured. A wide range on paper does not guarantee clear voices or full music in a tiny enclosure. Numbers need context. Look for sensitivity, often stated in decibels at a specified distance and input power. Higher sensitivity can produce more sound from the same amplifier output, but measurement conditions must match before you compare figures.
Match the module’s rated power handling and impedance to the amplifier. Use continuous, or RMS, power rather than relying on a brief peak rating. A mismatch can cause weak output, distortion, or excess heat. Check the supply voltage and current needs too, especially in a battery-powered product. Small details matter. If distortion data is available, compare it at similar output levels; a low figure measured quietly may tell you little about loud playback.
Specifications still leave gaps. In practice, the enclosure, mounting surface, and openings can change the sound noticeably. A small port near a wall may boost some low notes, while a loose panel can add a faint rattle. I would treat the data sheet as a shortlist, not a verdict. Listen to the module in its intended housing, at a realistic volume, and with speech as well as music. One test setup may not reflect every use.
How to compare: Higher rated power indicates greater power handling, while higher sensitivity can produce more sound from the same input. These representative values are illustrative—not specifications for particular products. Check the actual datasheet for impedance, frequency response, and test conditions, and make sure the module matches your amplifier.
Start with the device, not the catalog.
Measure the usable cavity in three dimensions, then account for grille depth, screw bosses, wiring, and assembly clearance. A module that fits the drawing may still collide with a flex cable or sit too close to the front mesh. Check clearance. IDC reported 1.24 billion smartphone shipments worldwide in 2024, a reminder that audio components often compete for limited space (Worldwide Quarterly Mobile Phone Tracker, January 2025).
Match the module’s footprint and height to the cavity, but also check acoustic volume, sound-port direction, impedance, rated power, and sensitivity. Compare datasheet dimensions with a physical sample; small changes in gasket thickness can weaken the seal and reduce bass.
Then measure. Test the module inside the finished shell, because the enclosure and grille can change its frequency response. A bare-module bench test may mislead.
One imperfect prototype can reveal a missed cable, unwanted resonance, or awkward assembly step.
A mini speaker’s materials should match its enclosure, sound target, and assembly method. Paper-based cones are light and can provide useful damping, while polymer cones tolerate moisture better. Neither is automatically superior; test the finished module at its intended volume. A stamped metal frame can hold alignment, but sharp edges need clearance from wires and soft gaskets. Small parts matter.
Mounting changes what listeners hear. A rigid screw mount helps maintain position, while a compliant gasket can reduce rattles against a plastic panel. Leave room around the diaphragm and ports, then check for buzzes with a slow frequency sweep. Adhesive mounting saves space, but can make repair and material separation harder. The Global E-waste Monitor 2024 reports 62 million tonnes of e-waste generated worldwide in 2022, with 22.3% documented as formally collected and recycled. That figure is a reason to consider accessible fasteners and fewer bonded material combinations—not proof that one mounting method is always greener. A removable bracket may add bulk. It may still be the more serviceable choice.
| Design factor | Common options | Best suited for | Practical considerations |
|---|---|---|---|
| Diaphragm material | PET or other polyester film | Compact products needing a lightweight, consistent diaphragm | A widely used film option; confirm the module’s frequency response and environmental limits in its datasheet. |
| Diaphragm material | Paper or coated paper | Designs where a natural, damped acoustic response is desired | Performance depends on the paper formulation and coating; consider humidity and moisture exposure. |
| Diaphragm material | Polyimide film or a composite diaphragm | Applications requiring a lightweight diaphragm with a design-specific balance of stiffness and damping | Properties vary by construction; compare measured response, operating temperature range, and durability. |
| Diaphragm material | Aluminum or other metal diaphragm | Modules designed for a stiff, lightweight diaphragm | The material alone does not determine sound quality; evaluate the complete speaker and enclosure together. |
| Frame and support | Stamped steel, aluminum, or molded engineering plastic | Steel for a rigid support; aluminum for low mass; plastic for integrated shapes and electrical isolation | Check frame rigidity, clearances, corrosion exposure, and how the frame transfers vibration to the enclosure. |
| Screw mounting | Mounting ears or a perimeter flange secured with screws | Products needing secure retention, repeatable assembly, or service access | Allow room for screw heads and tools. Use suitable fastener length and avoid distorting the frame by overtightening. |
| Adhesive mounting | Pressure-sensitive tape or a compatible structural adhesive | Thin, lightweight housings with limited space for screws | Prepare surfaces as required and check adhesive compatibility, temperature range, aging, and repairability. |
| Clip or snap-fit mounting | Housing clips, retaining tabs, or a dedicated speaker pocket | High-volume assemblies designed for fast installation | Control tolerances and clip force; provide a secure seal without loading or bending the speaker frame. |
| Gasket and acoustic seal | Foam, elastomer, or a formed sealing lip | Enclosures where air leakage, rattling, or vibration transfer must be controlled | Choose a compliant seal that fits the joint evenly. Verify compression, aging, and any required ingress protection. |
Selection tip: Compare the module’s dimensions, impedance, power rating, frequency response, and mounting drawing with the final enclosure. A well-sealed, mechanically secure installation is essential to predictable acoustic performance.
Before ordering a mini speaker module, compare its dimensions with the available cavity, including room for wires and mounting features. Check the impedance and power ratings against the amplifier’s specifications; a mismatch can cause weak output, excess heat, or damage. Confirm connector pinout, supply voltage, and whether the module needs an enclosure to produce usable bass. Small details matter. A connector that fits physically may still have different wiring.
Test the module in the intended housing, not only on an open workbench. Play a steady tone sweep at a moderate level, listening for rattles, buzzing, and sudden drops in volume. If you have a measurement microphone, record frequency response at a fixed distance and compare results across modules. Keep the volume consistent. Then run music or speech for several minutes and check for distortion, heat, and intermittent connections. Note the test setup, since room reflections and microphone placement can change readings. I’ve found that a promising bench result does not always translate well into a finished device. That is frustrating, but it is useful evidence: retest after changing the enclosure, gasket, or mounting pressure.